Time needed: 30 minutes.
Follow these instructions in order to easily connect your Keurig K150, B150, K155, B155, K150P, B150P, K4000, K3000, K3000SE, B3000, or B3000SE brewer to a direct water line filter kit.
In just 30 minutes you will enjoy fresh-tasting, filtered water in every beverage you brew! Note only will you be able to remove chlorine and other harmful elements that ruin the taste of your coffee, but the filter has the added benefit of descaling your brewer as it removes impurities, helping to prolong the longevity of your coffee maker throughout the years.
NOTE: This guide assumes you already have installed the Keurig Direct Water Line Plumb Kit on your brewer. If you’re not sure if your brewer came with a Plumb Kit, or if you want to learn how to install one, check out this article I wrote on installing a Keurig Plumb Kit.
- Make Sure You Have All the Parts Handy
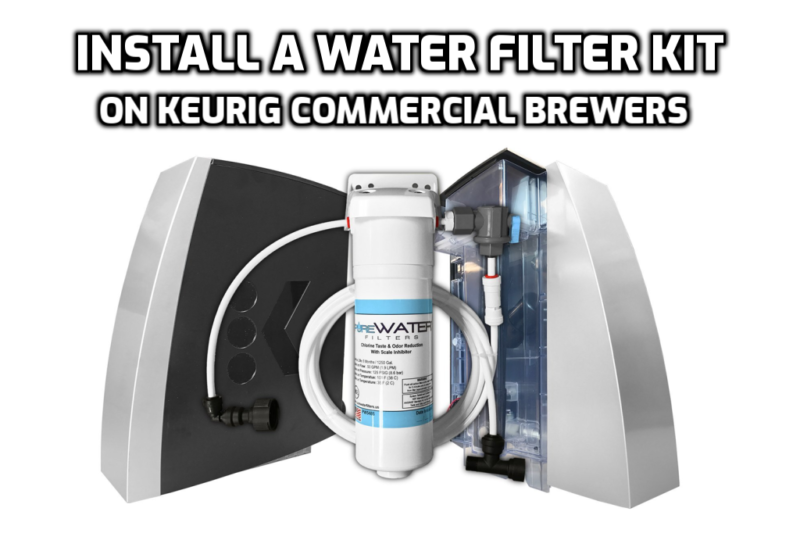
Before you begin the installation process, you’ll need to purchase this Keurig Direct Water Line Filter Kit, which includes the following required parts:
PureWater Filters Purification & Scale Control Filter, Mounting Head with Screws and Bracket, the Keurig Direct Water Line Connector & Elbow, (2) Lengths of NSF Certified Food-Grade Water Line, a Shutoff Valve, Angle Stop Valve, and a One-Way Check Valve. - Attach the HEAD UNIT to the BRACKET with the (4) SCREWS
Please note the sides marked “IN” and “OUT” on the head. You’ll need to make sure the “IN” side is facing to the right as shown in the below picture.

- Remove the YELLOW cap from the top of the WATER FILTER
This is just here to keep the filter fresh while not in use. You’ll need to remove this before installing. If your filter does not have this, that’s totally fine. Simply proceed to the next step.

- Attach the WATER FILTER to the bottom of the HEAD UNIT
You’ll do this by simply twisting the filter until it fully and securely screws into the head unit.

- Insert one end of the WATER LINE into the ONE WAY CHECK VALVE
Note that the One Way Check Valve is already connected to the Grey Ball Valve. You’ll insert one end of the water line into the other free end of the One Way Check Valve.

- Insert the GREY BALL VALVE into the HEAD UNIT at the side marked “IN”
Note: DO NOT remove the grey, plastic rings as seen in the picture below.

- Connect the open end of the WATER LINE to your water source
You’ll do this by either using the included 1/4″ Adapter or the Angle-Stop Valve. Make sure you TURN OFF your water source before doing this, otherwise you could be in for a wet surprise.

Before proceeding to the next step, you’ll want to FLUSH the water filter to prepare it for filtering. Hold the water filter over a sink or large bucket, so that the side marked “OUT” on the Filter Head is facing into the sink/bucket. Next, turn on your water supply (if nothing comes out, you may need to twist the green lever on the Grey Ball-Valve to the “OPEN” position).
You MIGHT see a bunch of BLACK stuff come out of the filter. This is completely normal. Make sure to flush the filter with at least 5 gallons of water (or until the water runs clear) prior to use.
Finally, turn off your water supply or turn the green switch on the Grey Ball-Valve to the “OFF” position again.
- Attach the COFFEE MACHINE CONNECTOR to your machine
It will simply screw on to your brewer. Next, insert the small 10 inch water line into the side of the Head Unit marked “OUT”.

- Attach the BRACKET to the back of your brewer
You’ll use the 2 existing screws that should already be attached to your brewer. If you did everything correctly, the back of your Keurig should look like the picture below.

7 Comments
Questions or Comments?
Vince v
I installed the filter on the 150 and I can not get it to stop leaking. Should there be a gasket where the filter makes contact with the base.
John
Hi Vince, this could be a problem with the K150 brewer’s reservoir, the filter or fittings themselves. First turn off your water supply and make sure all the water lines are pushed COMPLETELY into their connector fittings. This is the most common cause of the issue. If this doesn’t fix the leak, and the leak appears to be coming from the filter itself, this could be a problem with the threading of the filter housing unit (head). Try this: bypass the filtration system by disconnecting the line from the “in” side and disconnecting the “out” line from the black nozzle and elbow, and finally reconnecting the “in” side line directly to the nozzle and elbow. If it no longer leaks, then the issue is most likely from where the filter screws into the head. I’m not sure what type of filter kit you bought, but I know the PureWater Filters brand will replace any parts for life so I would recommend contacting them for a replacement.
Jen
Silly question which way is off for the green valve
John
Hey Jen, when the green valve is perpendicular to the valve it is in the OFF position.
Charles
I have a reverse osmosis system on my house water so don’t need to filter water going to coffee machine. Do I have to use the water filter for any particular reason or can I plumb straight to machine.
Jason
When I ran water through the filter for the first time I did NOT see “BLACK stuff come out of the filter”. Does this mean that “the charcoal that filters the contaminants from your water” is NOT being activated?
John
No. You will not always see the water turn black after running water through the filter the first time. This is completely normal.